Without Production, you can’t get anything done. Everyone can learn to improve their Production with the proper buildings and tile improvements, but some civilizations are better at making stuff than others. Even if you’re just a newbie, getting the hang of the best Production-focused civilizations should be enough to give you a fighting chance next time your friends want to give Civ 6 a go. Let’s look at the civs that give you the most Production for your buck.
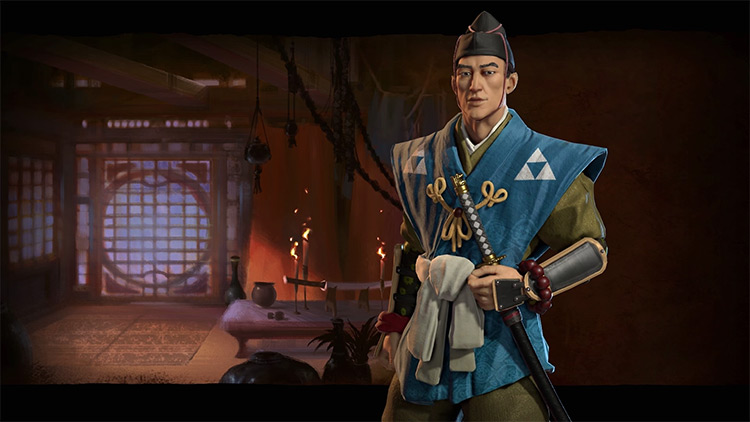
5. Japan
Leader: Hojo Tokimune Improving your society’s productivity doesn’t just mean increasing raw Production output but also cutting the costs of what you need to build. Japan’s Hojo Tokimune is a master of both. Thanks to boosted adjacency bonuses, Japan benefits from building multi-city district clusters that generate massive gains – including Production for your Industrial Districts. This would be good by itself, but Hojo has one more trick up his sleeve: cheaper districts. Japanese Encampments, Holy Sites, and Theater Squares are built in half the time, allowing you to profit from those district adjacency bonuses early on in the game. The Electronics Factory unique building is also a little bit better than the regular Factory, primarily when powered.
4. Australia
Leader: John Curtin Some people are at their best when working under pressure. John Curtin and the entire Australian nation are “some people.” Australia gets a ridiculous 100% increased production in all cities during 10 turns after having war declared on them. Even better: each liberated city restarts the counter, giving you up to 10 more turns of 2x production. This makes going to war with John Curtin a hazardous business, as the Australian comeback could spend the end of your civilization. You’d also do well to settle Australian cities near cattle, sheep, and horses. Each adjacent Pasture offers the Australian unique tile improvement, the Outback Station, a rather hefty Production bonus.
3. Scotland
Leader: Robert the Bruce The Scots are a powerhouse under Robert the Bruce, but only as long as he can keep them happy. Scot cities get a 5% Science and Production bonus for being Happy, while making them Ecstatic can double that for a massive 10% increase. You’ll also get tons of Great Scientists and, more importantly, Great Engineers. Free World Wonders, here we go! Your next best bet if your population can’t shake the blues away is the oldest trick in the book: war. Declaring a War of Liberation will double production in all cities for 10 turns, allowing you to churn out Highlanders like crazy and maybe rush some infrastructure projects while you’re at it.
2. Gaul
Leader: Ambiorix I love civs with unique districts, and the Gaulish Oppidum is one of the most fun. This Industrial Zone replacement is unlocked with Iron Working, giving Gaul access to a Production district while most civs are still learning how to ride a horse. Oppidums get a nice adjacency bonus from Mines – but they also give something back. Mines next to Oppidums get +1 Production, which can be extremely powerful in the right circumstances.
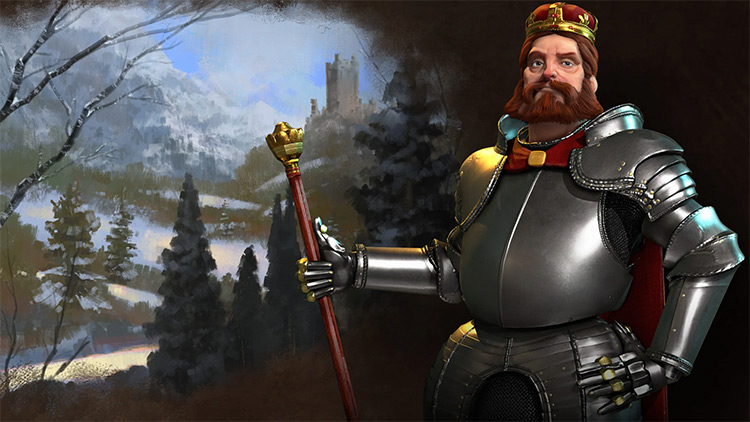
1. Germany
Leader: Frederick Barbarossa What do you need the most to win a war? Money and industrial output can’t be too far from the top of the list, and Germany excels on both fronts thanks to its unique Hansa district. This IZ replacement shines for its interaction with the Commercial Hub, which grants a whopping +2 Production bonus to every adjacent Hansa. The strategy here is similar to Japan’s: build cities in a way that lets you create massive district clusters of several Hansas, Commercial Hubs, and infrastructure like Aqueducts, Dams, and Canals. Master urban planning, and you’ll get ridiculous yields from every Hansa. Meanwhile, Barbarossa’s extra military policy slot should help you keep the savages at bay.